LET OP HET IS NIET IN SPAUBEEK MAAR IN HET WEVERKE TE SCHIMMERT
Hierbij nodig ik namens het bestuur alle leden van de afdeling uit voor het bijwonen van de Algemene Ledenvergadering (ALV) die zal worden gehouden op dinsdag 20 januari 2026 om 20:00 uur in Het Weverke, Hoofdstraat 77, 6333 BG, Schimmert.
Aftredend bestuur en eventuele opheffing van de afdeling
Vorig jaar januari is de afdeling “gered”. Er waren geen kandidaten voor een bestuursfunctie, maar tijdens de vergadering bleken uiteindelijk drie leden bereid om een bestuur te vormen. Voor alle drie gold – samengevat – dat zij hun taak als voorwaardelijk zagen en wilden zien hoe het zou gaan verlopen.
Het bestuur heeft het afgelopen jaar geëvalueerd en is tot de conclusie gekomen dat het gebrek aan belangstelling voor activiteiten niet is veranderd, nog daargelaten de bereidheid van leden om activiteiten te organiseren of daarbij mee te helpen. De wekelijkse bijeenkomsten worden weliswaar bezocht, maar in de praktijk komt het erop neer dat het niet uitmaakt of er een bestuur is of niet.
Daarom hebben Guido, PA4GR, Mark, PC9DB en Henk, PA2S besloten af te treden en zich niet herkiesbaar te stellen.
Wanneer zich geen opvolgers melden, zal het huidige bestuur besluiten om de afdeling op te heffen. Als er geen voortzetting mogelijk is, zal in een aparte vergadering eind februari of begin maart het definitieve besluit daartoe moeten worden genomen. Daarbij zal onder andere ook beslist worden over de bestemming van het batig saldo.
Een en ander leidt tot de volgende agenda:
1. Opening door de voorzitter met terugblik 2025
2. Verslag van de penningmeester
3. Verslag van de kascontrolecommissie
4. Aftreden en eventueel verkiezen nieuw bestuur
5. Afhankelijk van punt 4 besluit over vervolgstappen.
Deelnemers moeten een geldig lidmaatschap hebben en de presentielijst tekenen.
Wij streven ernaar om uiterlijk het komende weekeinde vergaderstukken toe te zenden.
Wij rekenen op uw komst!
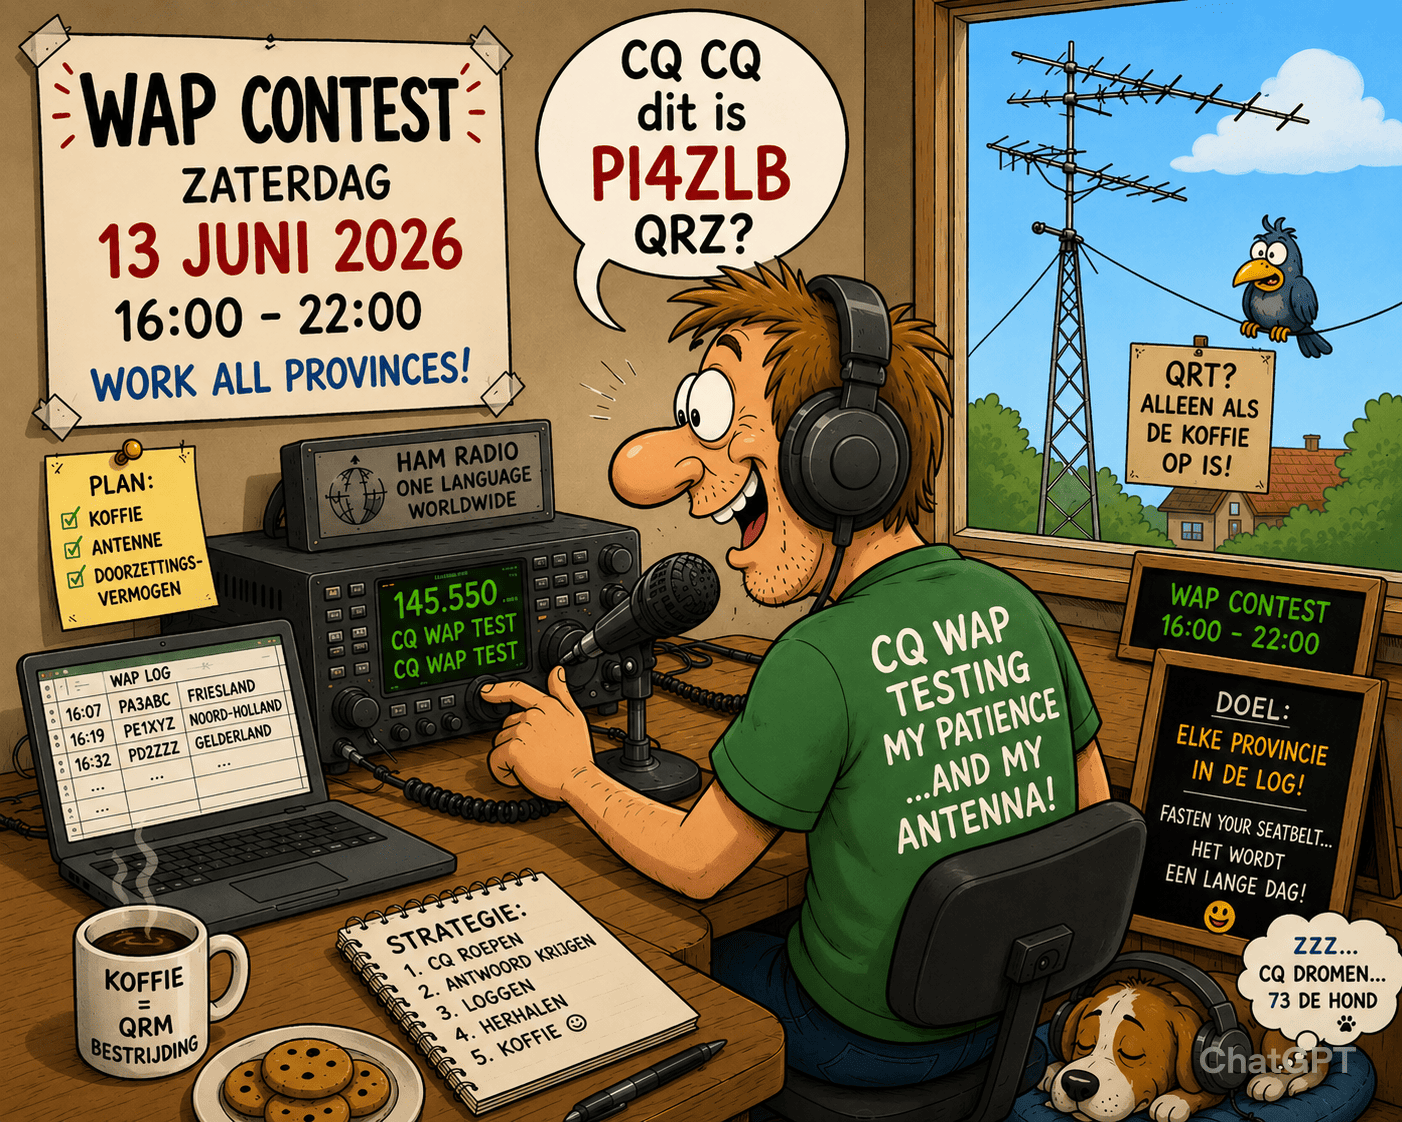 Op zaterdag 13 juni is weer de jaarlijkse Worked All Provinces contest! Vanaf 16 uur ’s middags tot 22 uur ’s avonds zijn de clubstations van de VRZA in de lucht op 6m, 4m, 2m en 70cm en zelfs hoger.
 In verband met carnaval is er op 11 en 18 februari geen bijeenkomst in Spaubeek.
 Tijdens de ALV van dinsdag 20 januari hebben de aanwezige leden unaniem ingestemd met de installatie van een deels nieuw bestuur: