Over on Retro Recipe’s YouTube channel, [Perifractic] has been busy restoring an old promotional video of how Commodore computers were made back in 1984 (video below the break). He cleaned up the old VHS-quality version that’s been around for years, translated the German to English, and trimmed some bits here and there. The result is a fascinating look into the MOS factory, Commodore’s German factory, and a few other facilities around the globe. The film shows the chip design engineers in action, wafer manufacturing, chip dicing, and some serious micro-probing of bare die. We also see PCB production, and final assembly, test and burn-in of Commodore PET and C64s in Germany.
Check out the video description, where [Perifractic] goes over the processes he used to clean up video and audio using machine learning. If restoration interests you, check out the piece we wrote about these techniques to restore old photographs last year. Are there any similar factory tour films, restored or not, lurking around the web? Let us know in the comments below.
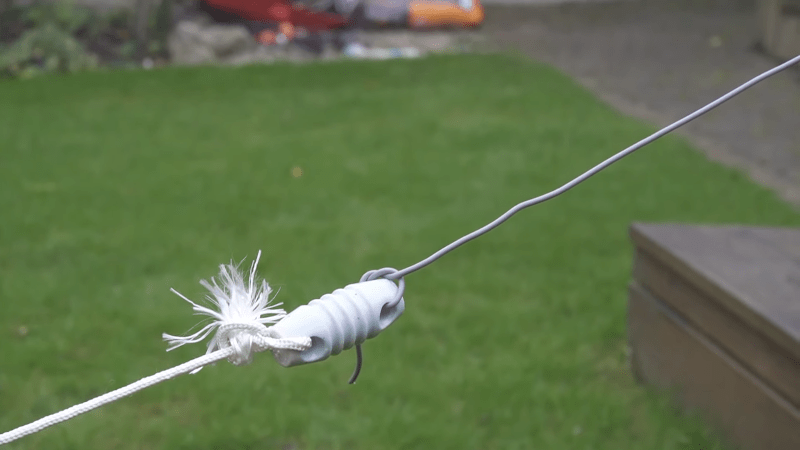
 https://hackaday.io/project/183476-diy-simple-sensitive-emf-detector-and-electroscope ” data-image-caption=”” data-medium-file=”https://hackaday.com/wp-content/uploads/2022/01/2578171641635041412.png?w=400″ data-large-file=”https://hackaday.com/wp-content/uploads/2022/01/2578171641635041412.png?w=800″ width=”400″ height=”242″>
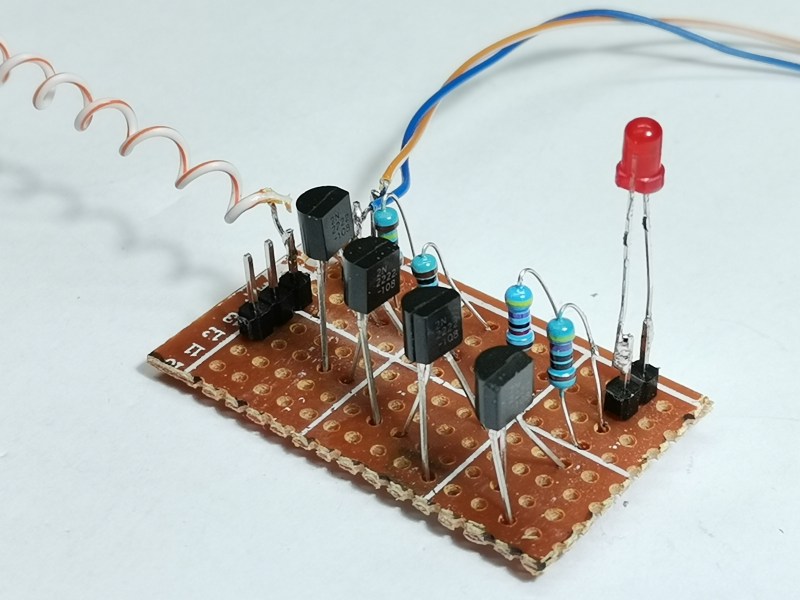
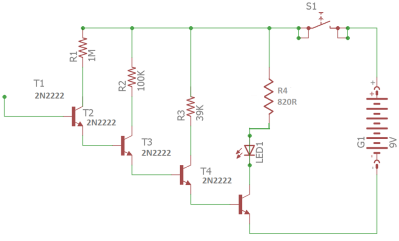
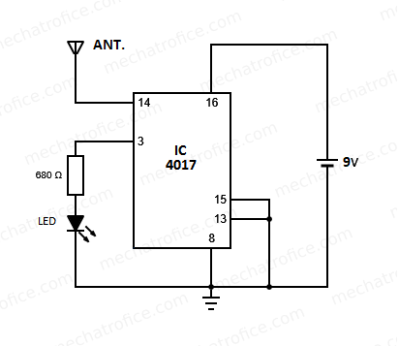 https://hackaday.io/project/183476-diy-simple-sensitive-emf-detector-and-electroscope ” data-image-caption=”” data-medium-file=”https://hackaday.com/wp-content/uploads/2022/01/7237471641635055278.png?w=400″ data-large-file=”https://hackaday.com/wp-content/uploads/2022/01/7237471641635055278.png?w=412″ width=”400″ height=”347″>