DMR repeater PI1ZLB overgedragen aan Stichting Radioamateurstations Zuid-Limburg

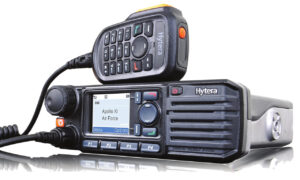
Op 6 september 2021 zijn enkele overeenkomsten getekend waarmee de bestaande 70cm DMR-repeater PI1ZLB formeel is overgedragen aan de Stichting Radioamateurstations Zuid-Limburg. Hiermee is de continuïteit van deze repeater veiliggesteld.

In 2014 hebben o.a. Ralph PD3R en Paul ON2PCO/PD2PCO het initiatief genomen om te komen tot een 70 cm DMR-repeater PI1ZLB in Maastricht. Ten behoeve van verzekering, vergunning en gebruikersovereenkomst met de eigenaar van het gebouw, werd PI1ZLB ondergebracht bij de Stichting Beheer Repeaters Haaglanden.

Om de continuïteit van 2m FM-repeater PI3ZLB te borgen, is enkele jaren geleden door de afdelingen VERON A22 en VRZA A23 de Stichting Radioamateurstations Zuid-Limburg opgericht. Hierdoor kon de 2m-repeater worden voortgezet in Hulsberg.

Op verzoek van Ralph en Paul is onderzocht of het mogelijk was om het beheer van PI1ZLB ook onder te brengen bij de stichting in Zuid-Limburg. Zowel de locatie van PI1ZLB als de technische voorzieningen van het relaisstation passen in de doelstelling van de repeater-stichting. Daarnaast biedt PI1ZLB mogelijkheden voor verdere (experimentele) uitbreidingen van het repeater netwerk in Zuid-Limburg.

Begin 2020 is hierover een principebesluit genomen en zijn er acties aangezet om de vergunning bij AT, de contractuele overeenkomsten tussen gebouweigenaar en de betrokken stichtingen om te zetten, en de verzekering hierop aan te passen. Corona-maatregelen en hoogwater in de Maas hebben echter voor vertraging gezorgd.

De laatste formele stappen en de overdracht zijn nu dus afgerond. Zowel PI1ZLB als PI3ZLB vallen nu onder de Stichting Radioamateurstations Zuid-Limburg. Een aan deze stichting verbonden commissie voert vanaf nu het beheer over beide locaties en plant verdere experimenten met deze repeaters.

Tom PC5D, Stichting Radioamateurstations Zuid-Limburg

Donaties voor de stichting zijn welkom op NL19 RBRB 0706 3170 25 t.n.v. STICHTING RADIOAMATEURSTATIONS ZUID LIMBURG
The Simplest FT8 Transceiver You’ll Ever Build

Probably the most interesting facets of amateur radio in 2021 lie in the realm of digital modes. Using the limitless possibilities of software defined radios has freed digital radio communication from the limits of what could be done with analogue electronics alone, and as a result this is a rare field in which radio amateurs can still be ahead of the technological curve. On of these newer digital modes is FT8 created by the prolific [Joe Taylor K1JT].

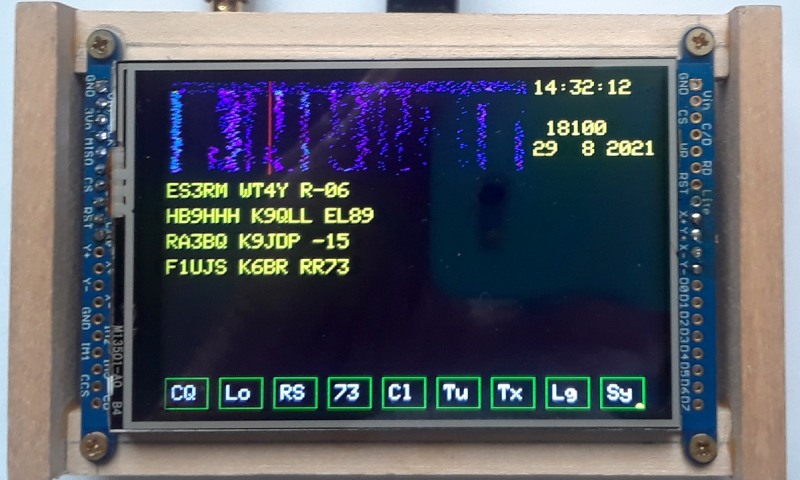
And it’s for this  mode that [Charles Hill] has created an easy-to-build transceiver. Its brains are aTeensy 3.6, while the receive side is a Si4735 receiver chip and the transmitter is a Si5351 programmable clock chip driving a Mini-Circuits GVA84 power amplifier with an appropriate filter. The interface is via a touchscreen display. It relies on existing work that applies a patch on-the-fly to the Si4735 receiver chip for SSB reception, and another project for the FT8 software.

The charm of this transceiver is that it can be assembled almost in its entirety from modules. Some radio amateurs might complain that homebrew radios should only use the most basic of components assembled from first principles, but the obvious answer to that should be that anything which makes radio construction easier is to be welcomed. If the 100 mW output power seems a bit low it’s worth remembering that FT8 is a weak signal mode, and given the right propagation conditions the world should be able to hear it despite the meagre output.

We’ve featured quite a few radios using the Si47XX series, which can be made into very tidy receivers indeed.


Modern Tube Tester Uses Arduino

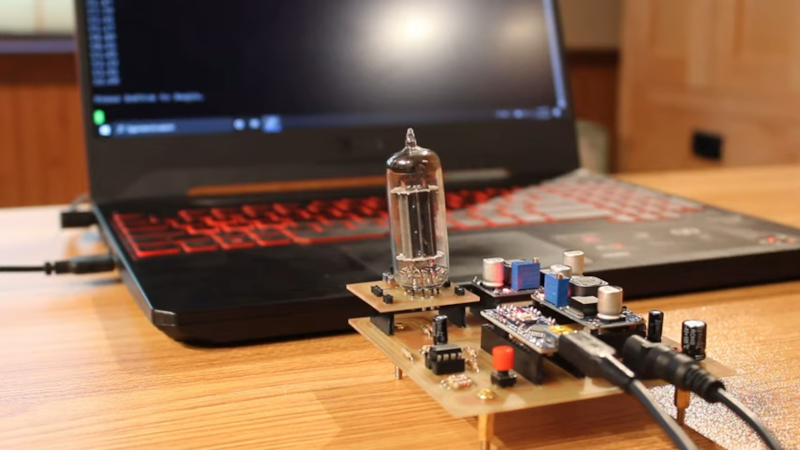
There was a time when people like us might own a tube tester and even if you didn’t, you probably knew which drug store had a tube testing machine you could use for free. We aren’t sure that’s a testament to capitalistic ingenuity or an inditement of tube reliability — maybe both. As [Usagi] has been working on some tube-based projects, he decided he needed a tester so he built one. You can see the results in the video, below.

The tester only uses 24V, but for the projects he’s building, that’s close to the operation in the real circuits. He does have a traditional tube tester, but it uses 100s of volts which is a different operating regime.


The bulk of the circuit is creating the voltages required, including a 555 charge pump to generate around -10V. The tube is wired up in a particular configuration and the Arduino makes a few measurements while changing the operating bias conditions. The converter goes through a voltage divider so the maximum 24 volts won’t overload the Arduino.

Grabbing the data into a spreadsheet allowed some curve tracing which looked useful for matching. However, as [Usagi] points out, the tester is very specific to his application. He has plans to maybe make a more general-purpose tube tester.

One of the problems with a truly general-purpose tube tester is connecting to the different pinouts. Punched cards offered one answer. If you don’t remember tube testers in drug stores, you might find that TV repair, at one time, was a big business.


A 3-6-9 Antenna Pulls In The Signals

Every time we see a dispatch from [Mr. Carlson], we imagine it is being beamed from his orbital station packed full of vintage radio gear. We are certain the reality is more terrestrial, but if we were going to build an orbiting lab, it might look like [Carlson’s] shack. In his latest communique, he shares his progress working on a high-performance 3-6-9 receiving antenna design and you can see it in the video below.

Although the antenna isn’t done, it is already working and looks impressive. There’s a lot of wire, so this probably isn’t a condo-friendly solution. The name of the antenna derives from the three wires, one tuned for 3 MHz, one for 6 MHz, and the other for 9 MHz.


The mechanical construction is impressive, with springs and pulleys. The wire used is actually MIG welding wire which is cheap and durable. Supposedly, the antenna has already performed well with an average receiver, but we didn’t get to hear it ourselves. Maybe in the next video.

If you are looking for more antenna theory, we got you. If height’s got you down, try rising to the occasion.